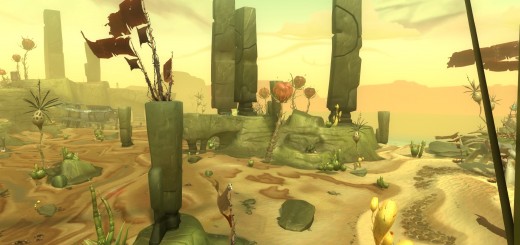
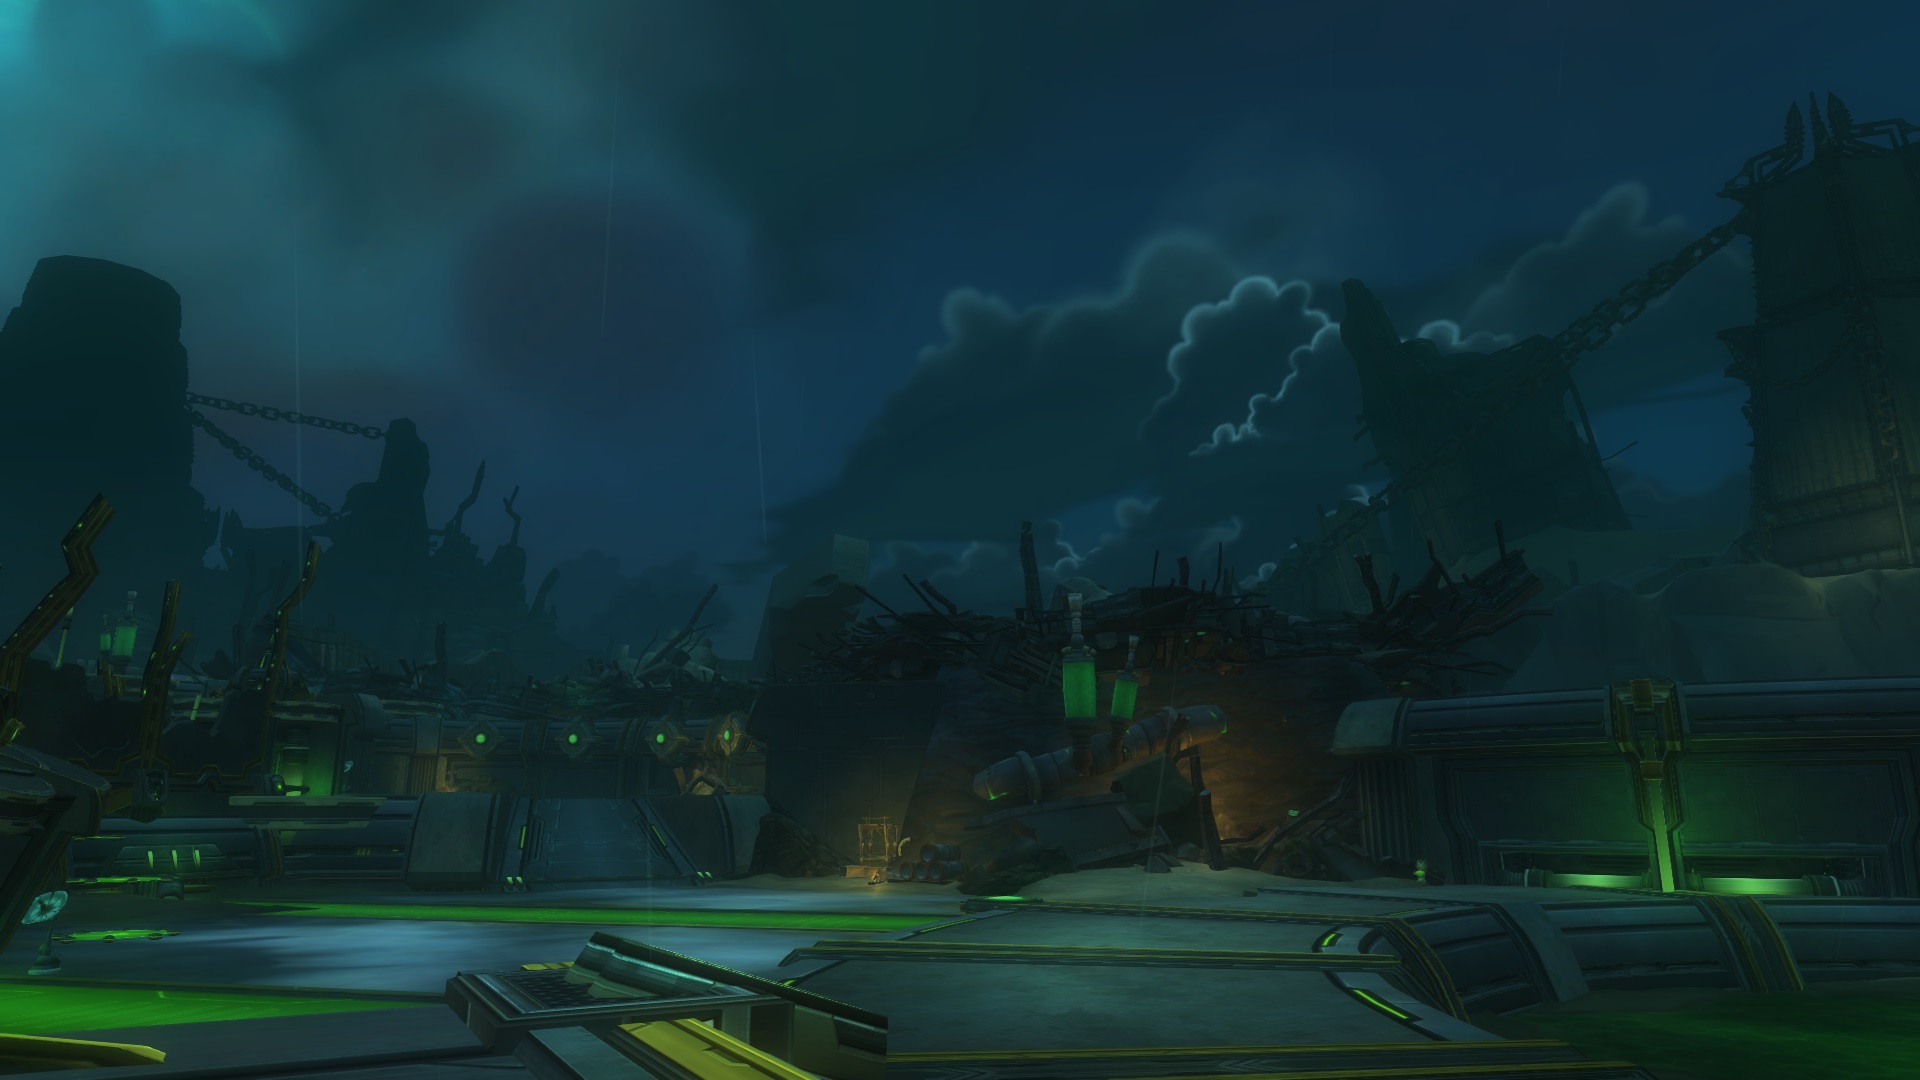
Ruins of Kel Voreth is a Wildstar dungeon intended for level 20 characters and located in the southeast corner of Auroria, a Dominion zone (Although you can enter it at level 17, you can’t queue for it until 20).
Location & Entrance
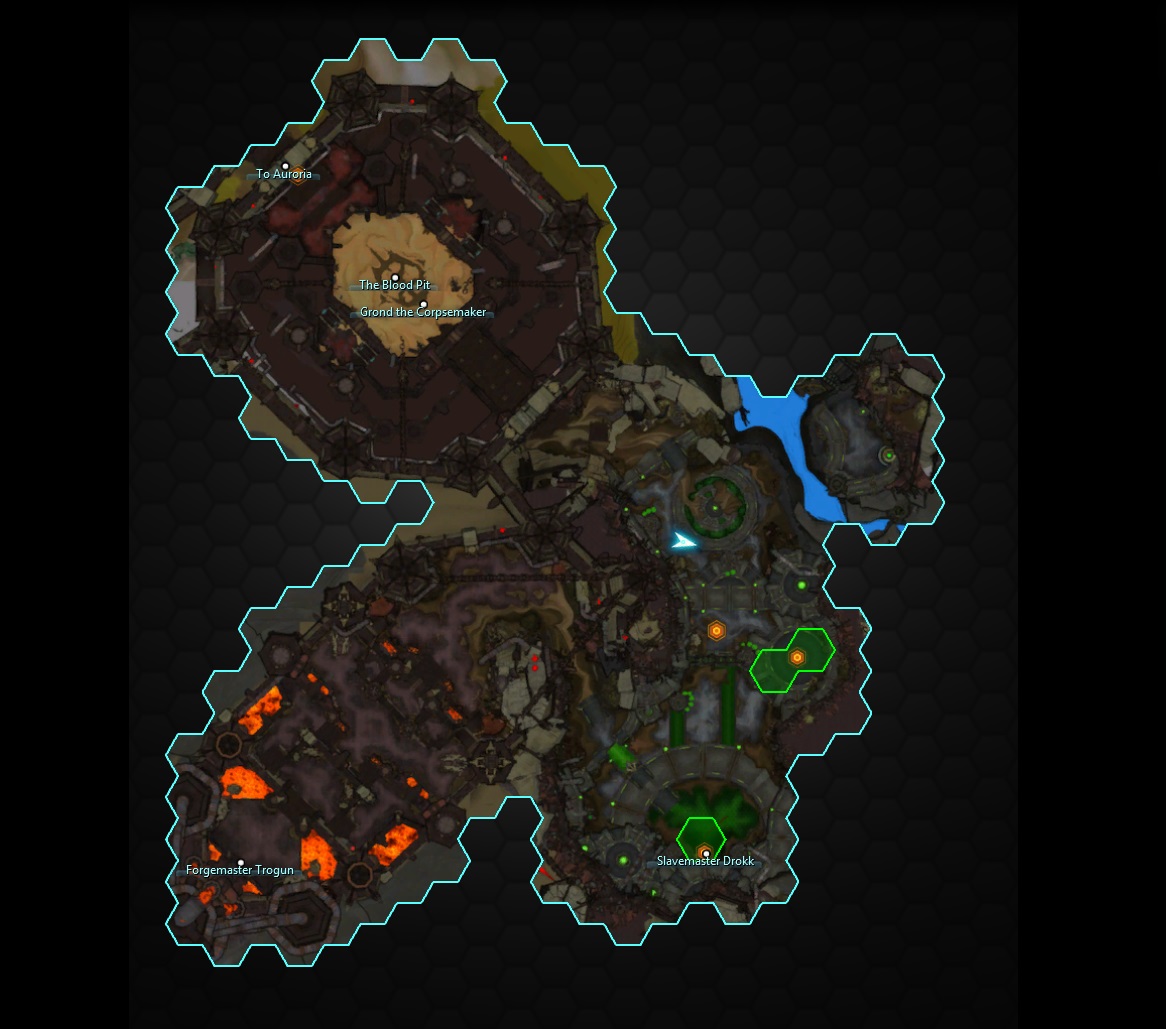
Ruins of Kel Voreth are located in the Dominion zone of Auroria, in the southeast corner.
You no longer have to discover the entrance to queue for this dungeon as it was very hard for Exile characters.
Contents
- Grond the Corpsemaker Guide (First Boss)
- Slavemaster Drokk Guide (Second Boss)
- Darkwitch Gurka Guide (Optional Boss)
- Forgemaster Trogun Guide (Final Boss)
- Kel Voreth Gallery
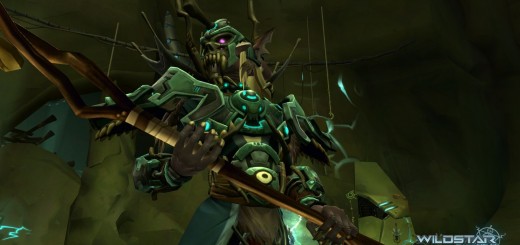
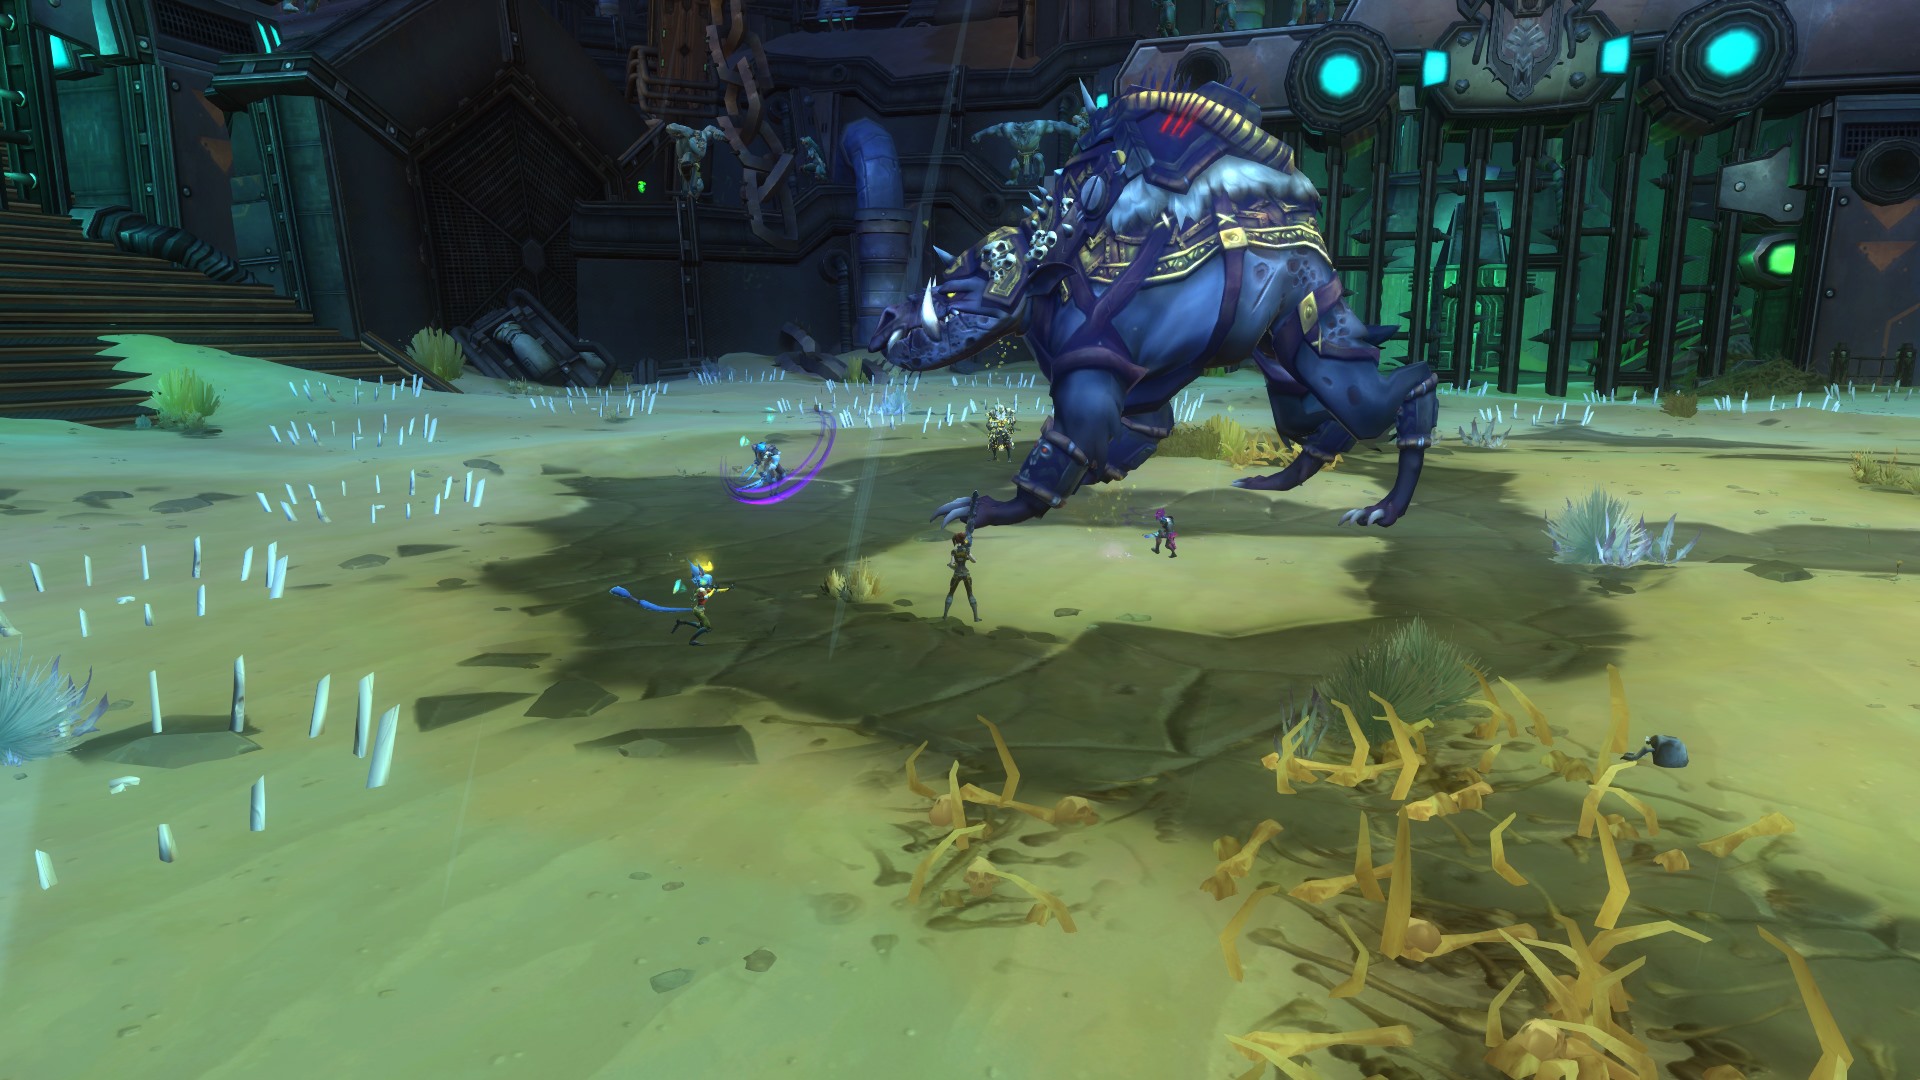
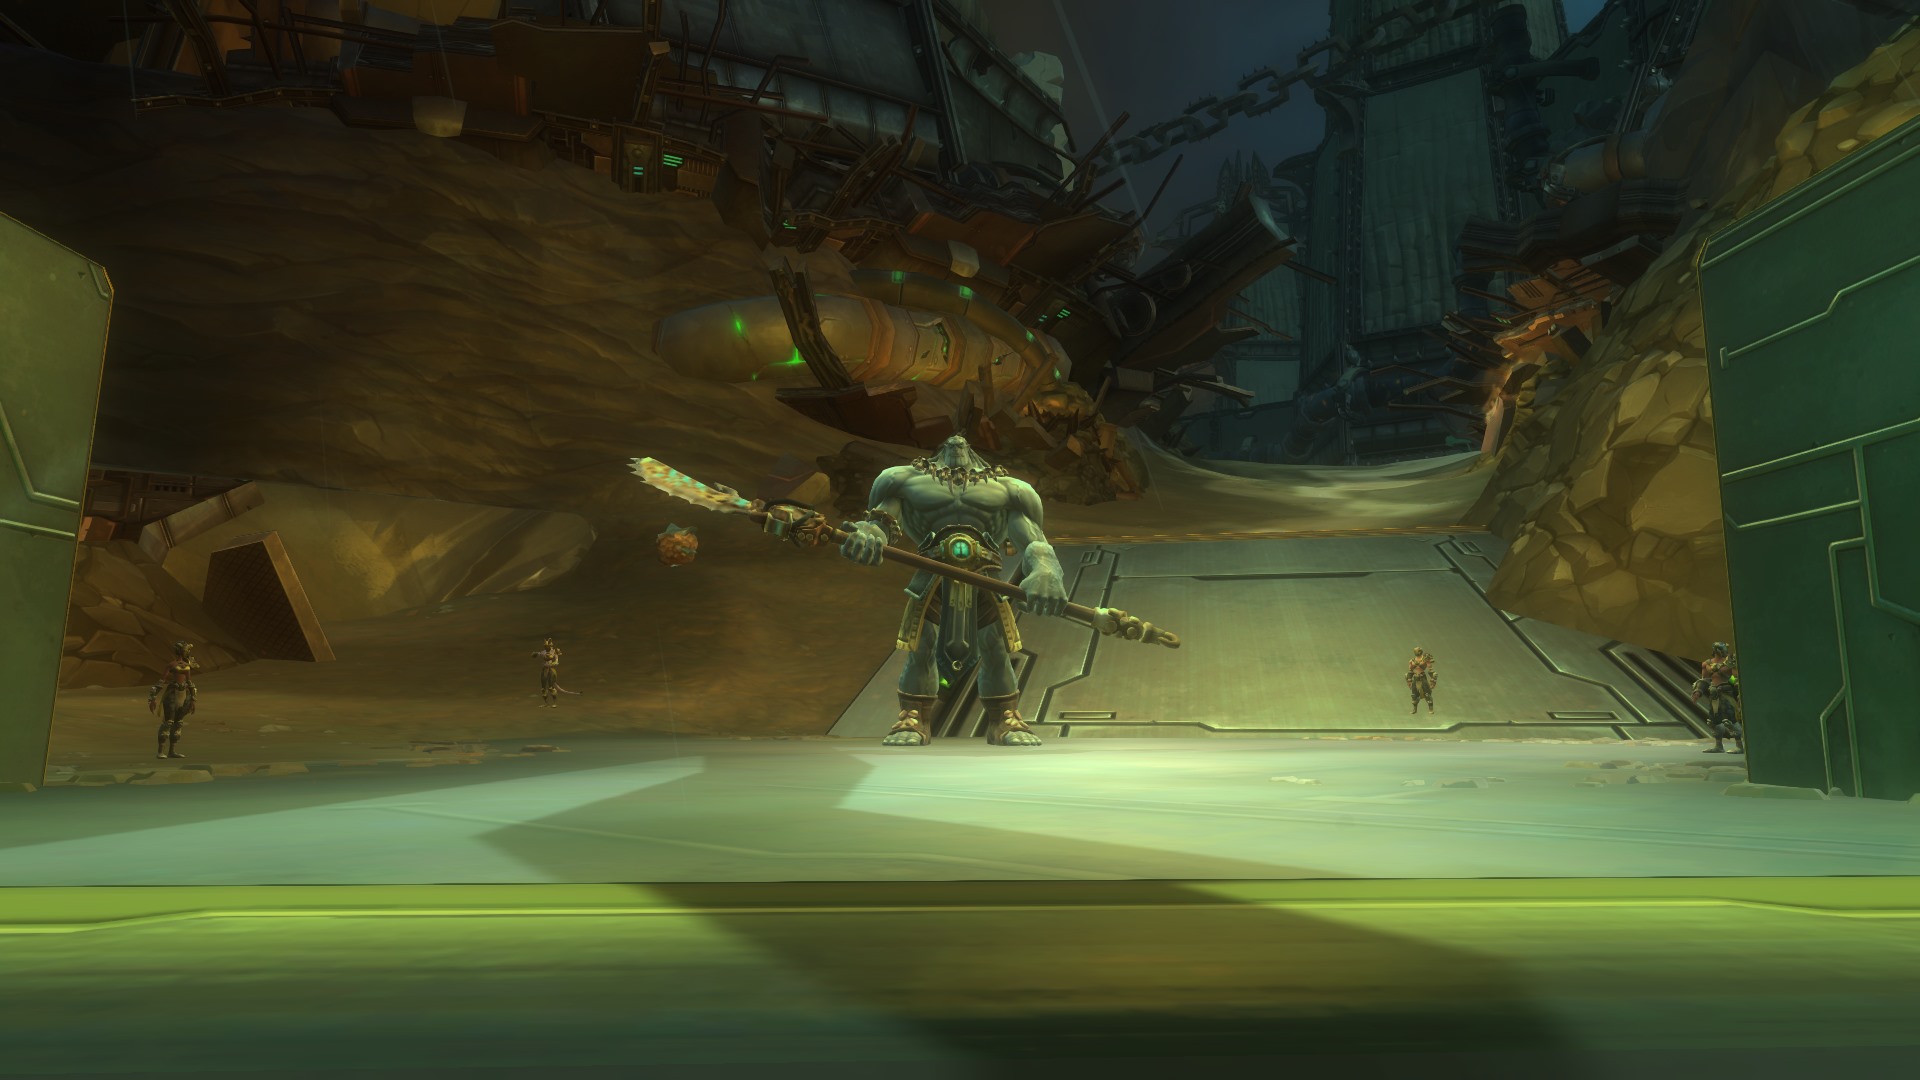
Ruins of Kel Voreth : Grond the Corpsemaker
Grond the Corpsemaker is the first boss of the Ruins of Kel Voreth.
To make it spawn, you first have to kill three packs of trash in the Blood Pit.
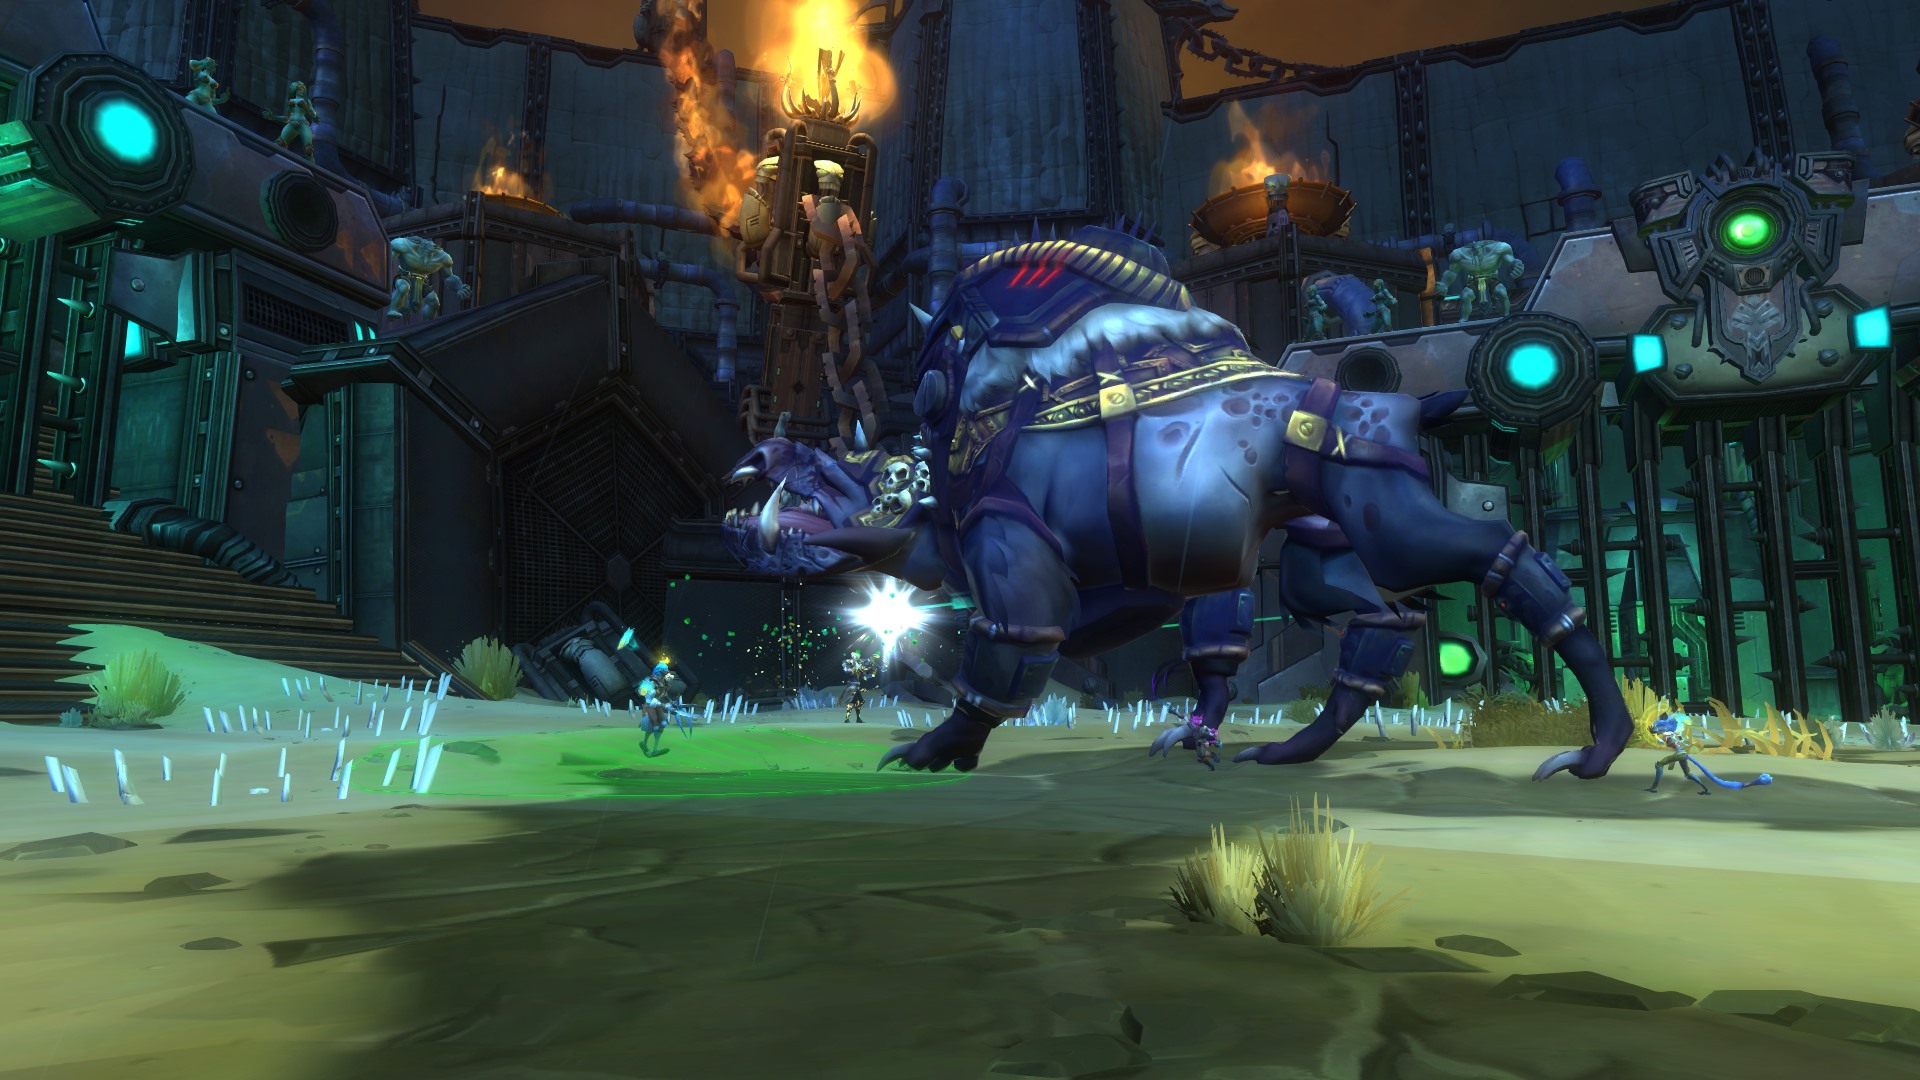
Grond the Corpsemaker
Blood Pit Traps
The Blood Pit is covered with traps that will stun players or trashs that run into them.
They respawn quickly after triggered so don’t bother cleaning the room before engaging Grond.
Phase I : Grond the Corpsemaker, 100 - 30 % HP
Grond should ideally be tanked in the center of the room, to avoid traps. The group must stay on Grond’s sides.
Grond will use these abilities through this phase :
Frontal & Rear conical attack
He will use this nearly all the time. He targets the tank with an unavoidable frontal conical telegraph, and does the same on his back.
Charge
Grond will target a random party member and charge it.
Avoid the following frontal telegraph and return Grond to the middle of the pit.
Trash
Grond will canalyse “Trash” then, after the cast, he begins spinning in circles, making fissure-type line telegraphs that extend from him.
Trash does a lot of damage (The further you are, the more damage you take) and knocks you down, sometimes in traps.
That’s why the tank must replace Grond in the middle of the room.
You must interrupt Trash AFTER the cast, while he is spinning.
Below
Grond will cast a circle telegraph centered on him, doing a lot of damage, subduing and expulsing people caught in it.
He then falls on the ground and three Bloodsucker Fleas will pop, kite them in traps or let the DPS kill them.
Phase II : Grond the Corpsemaker, Frenzy Phase, 30 - 0 % HP
Grond will gain a new ability called Mutilate.
He will charge a player, then will make a canalysed conical telegraph. Double dodge it as it makes a lot of damage.
Grond will cycle those abilities until his death.
Grond the Corpsemaker Strategy Guide

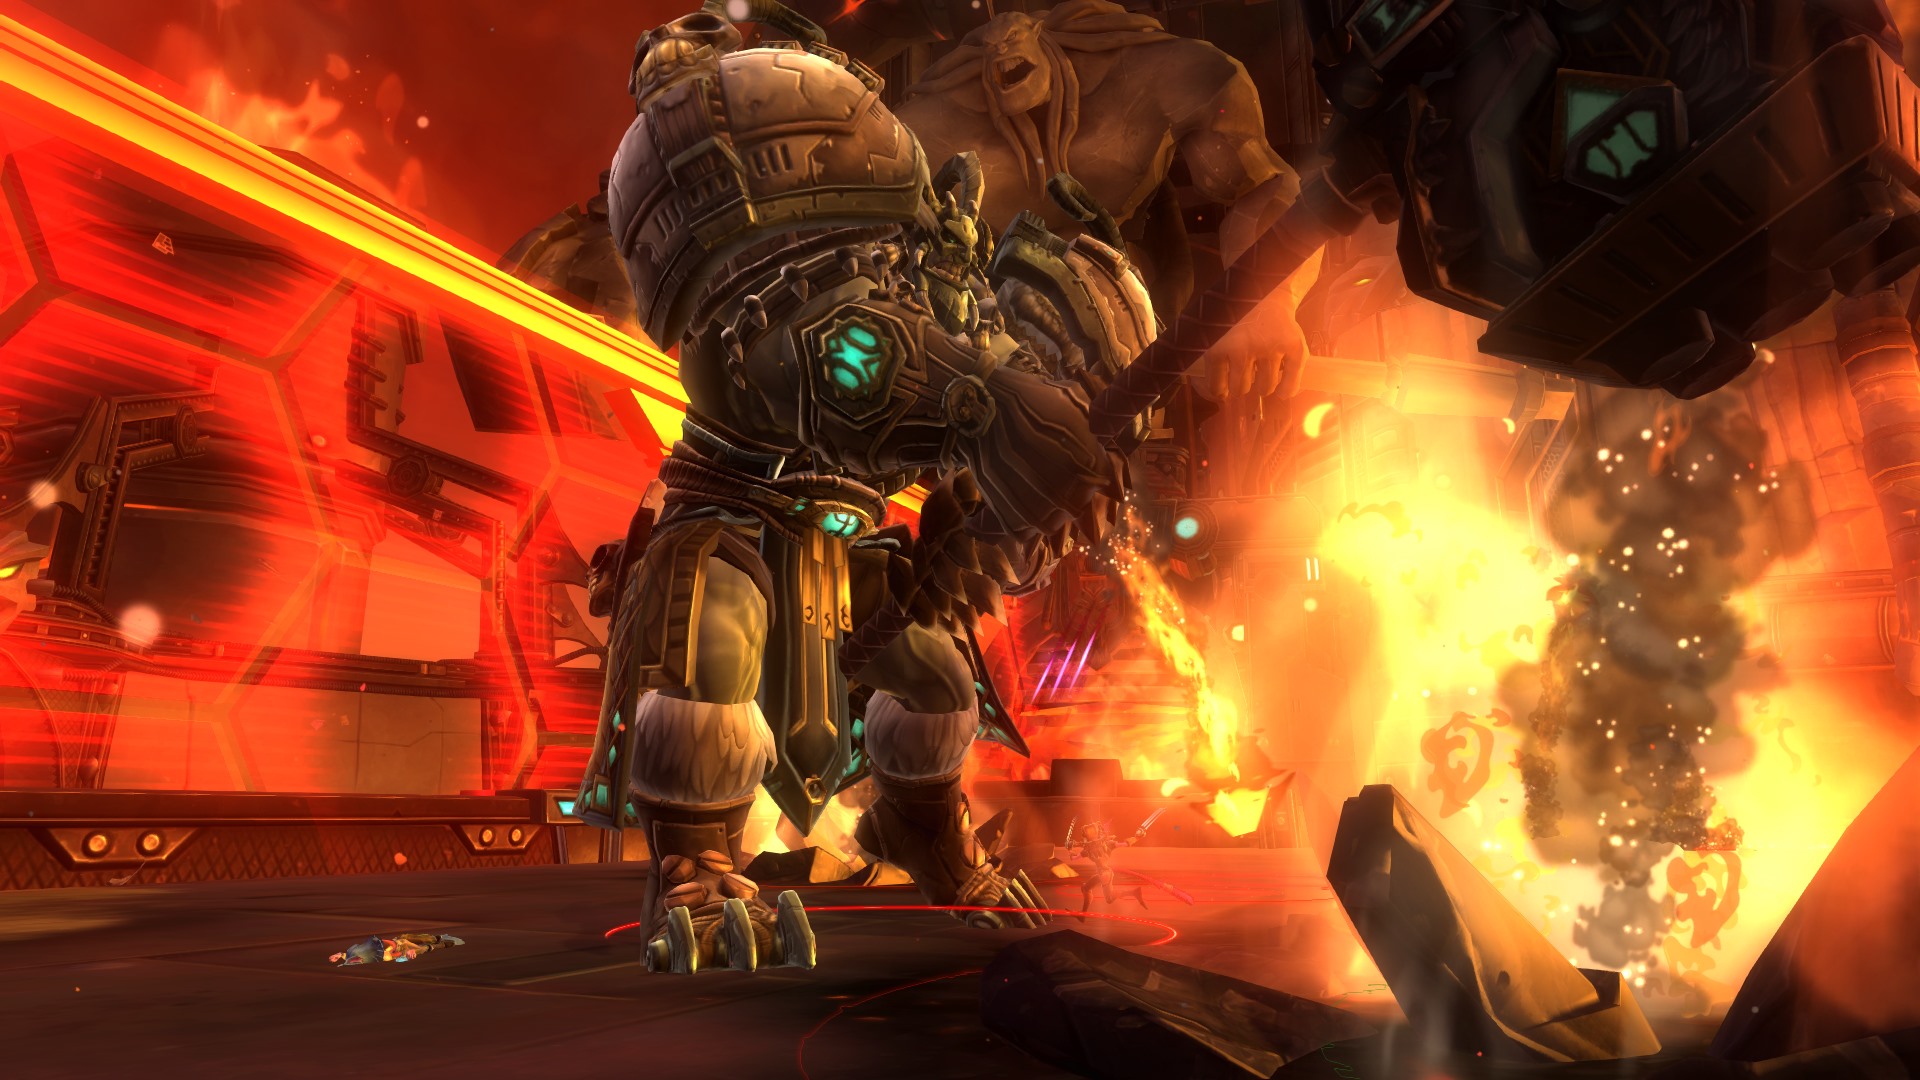
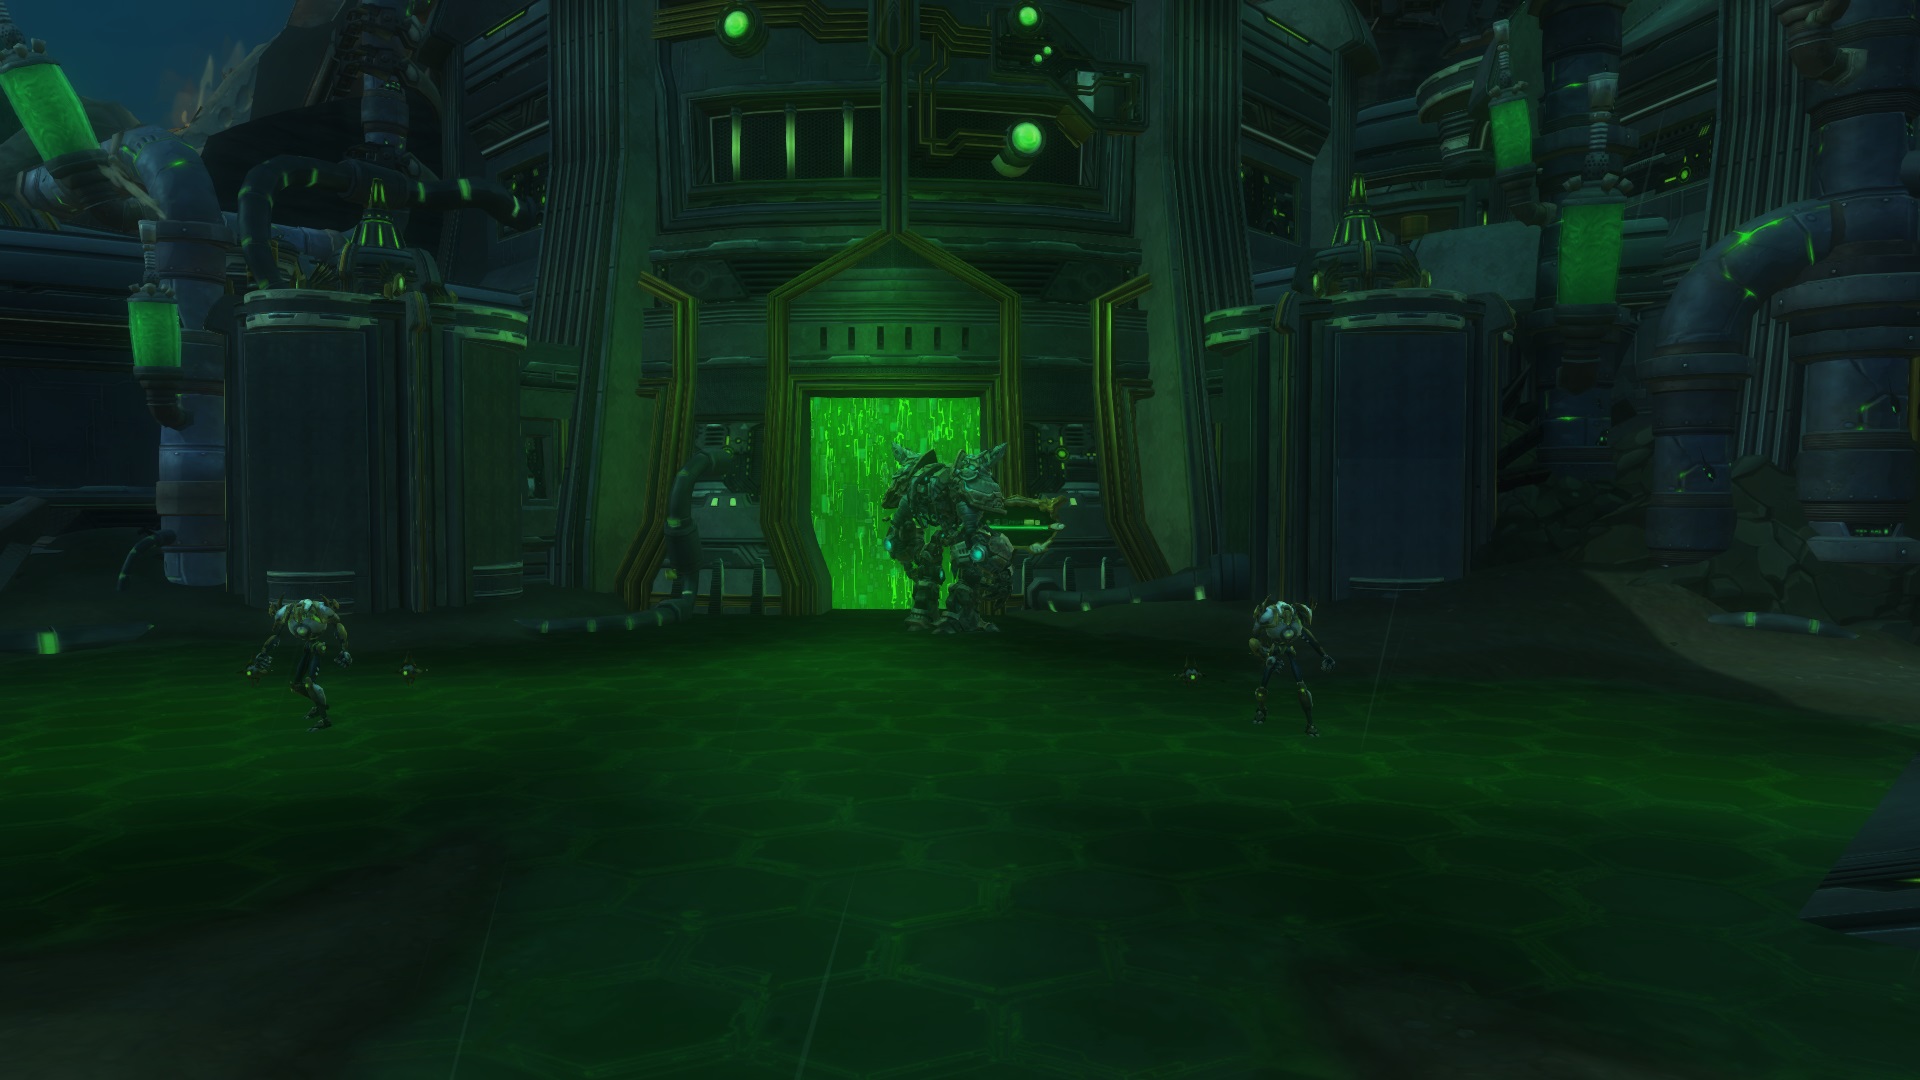
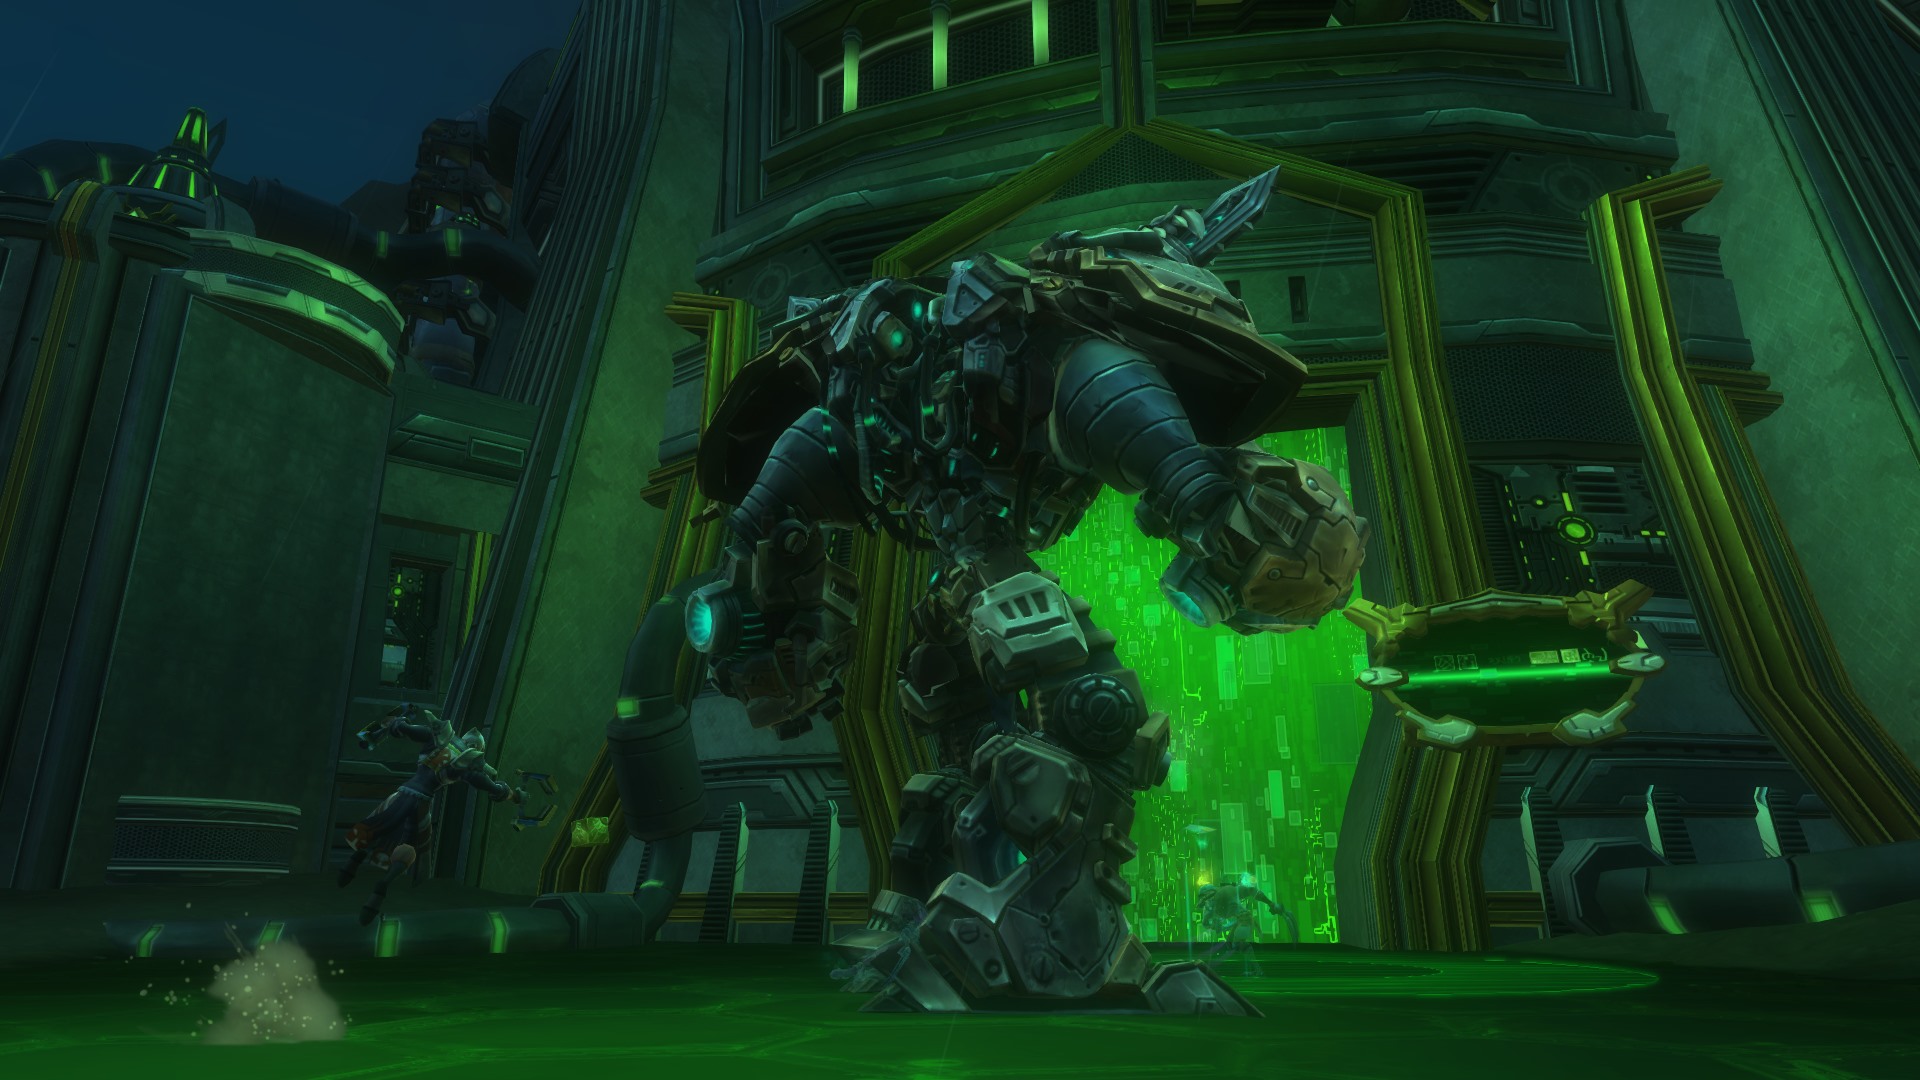
Ruins of Kel Voreth : Slavemaster Drokk
Slavemaster Drokk is the second boss of the Ruins of Kel Voreth.
Slavemaster Drokk
Phase I : Slavemaster Drokk, 100 - 80 % HP
Basically a Tank & Spank phase, beware of the boss basic attack damage, it hurts a lot. Never let the tank under 70% life.
Drokk will use one ability in this phase and will use it until the end of the fight when present.
Deplete Silo
Small telegraph centered on a random player, making ~2K damage. Avoid it.
Phase II : Enslaved Probes, 80 % HP
Drokk will disappear and Enslaved Probes will come through the portal and spread out in the room.
They will then start to make telegraphs covering the ENTIRE room, so you have to kill one Enslaved Probe to make a safe-spot.
Gather near the portal, wait for the closest probe to stop, and kill it quickly.
After the Enslaved Probes explosion Drokk reappears from the portal.
Phase III : Slavemaster Drokk, 80 - 40 % HP
After 10 ~ 15 seconds, Drokk teleports & tethers every group members to small pylons, needed to be destroyed (Void Slip works too).
Help your Tank & Healer by destroying their anchors before returning to Drokk.
Drokk will use another ability in this phase and will use it until the end of the fight when present.
Suppression Wave
Pulse telegraph centerer on Drokk, making ~4K damage and a knockback. Avoid it to help your healer.
Suppression Wave does damage only when the inner bright red circle in the telegraph hits the edge of the telegraph, so dodge it before.
Phase IV : Targeting Phase, 40 % HP
Everyone must move away from the portal, as Drokk will be targeting one random player with a tracking beacon.
Destructo Constructs will then spawn and chase the targeted player.
Player must run away from Constructs while the rest of the group kills them, if failed each Construct explodes for ~3K AoE damage.
Tracking beacon regularly damage the targeted player, and change target multiples times during this phase.
At the end of the phase, remaining Destructo Constructs self-destruct and Drokk reappears.
Phase V : Slavemaster Drokk, 40 - 0 % HP
Simple Tank & Spank phase. Avoid Suppression Wave & Deplete Silo abilities.
Bombshell Constructs will regularly spawn from the portal and head to Drokk to self-destruct themselves.
Move Drokk when Bombshell Constructs start doing theirs telegraphs.
Slavemaster Drokk Strategy Guide
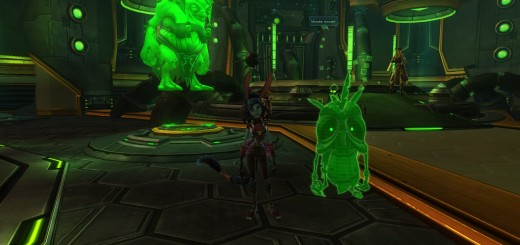
Ruins of Kel Voreth : Darkwitch Gurka (Optional)
Darkwitch Gurka is an optional boss that does not spawns in every run.
The fight isn’t really complicated, the only annoying part is the color of her telegraphs, that make them not really visible on the ground.
Interrupt the blind spell, and move out of telegraphs and Darkwitch Gurka will die quickly.
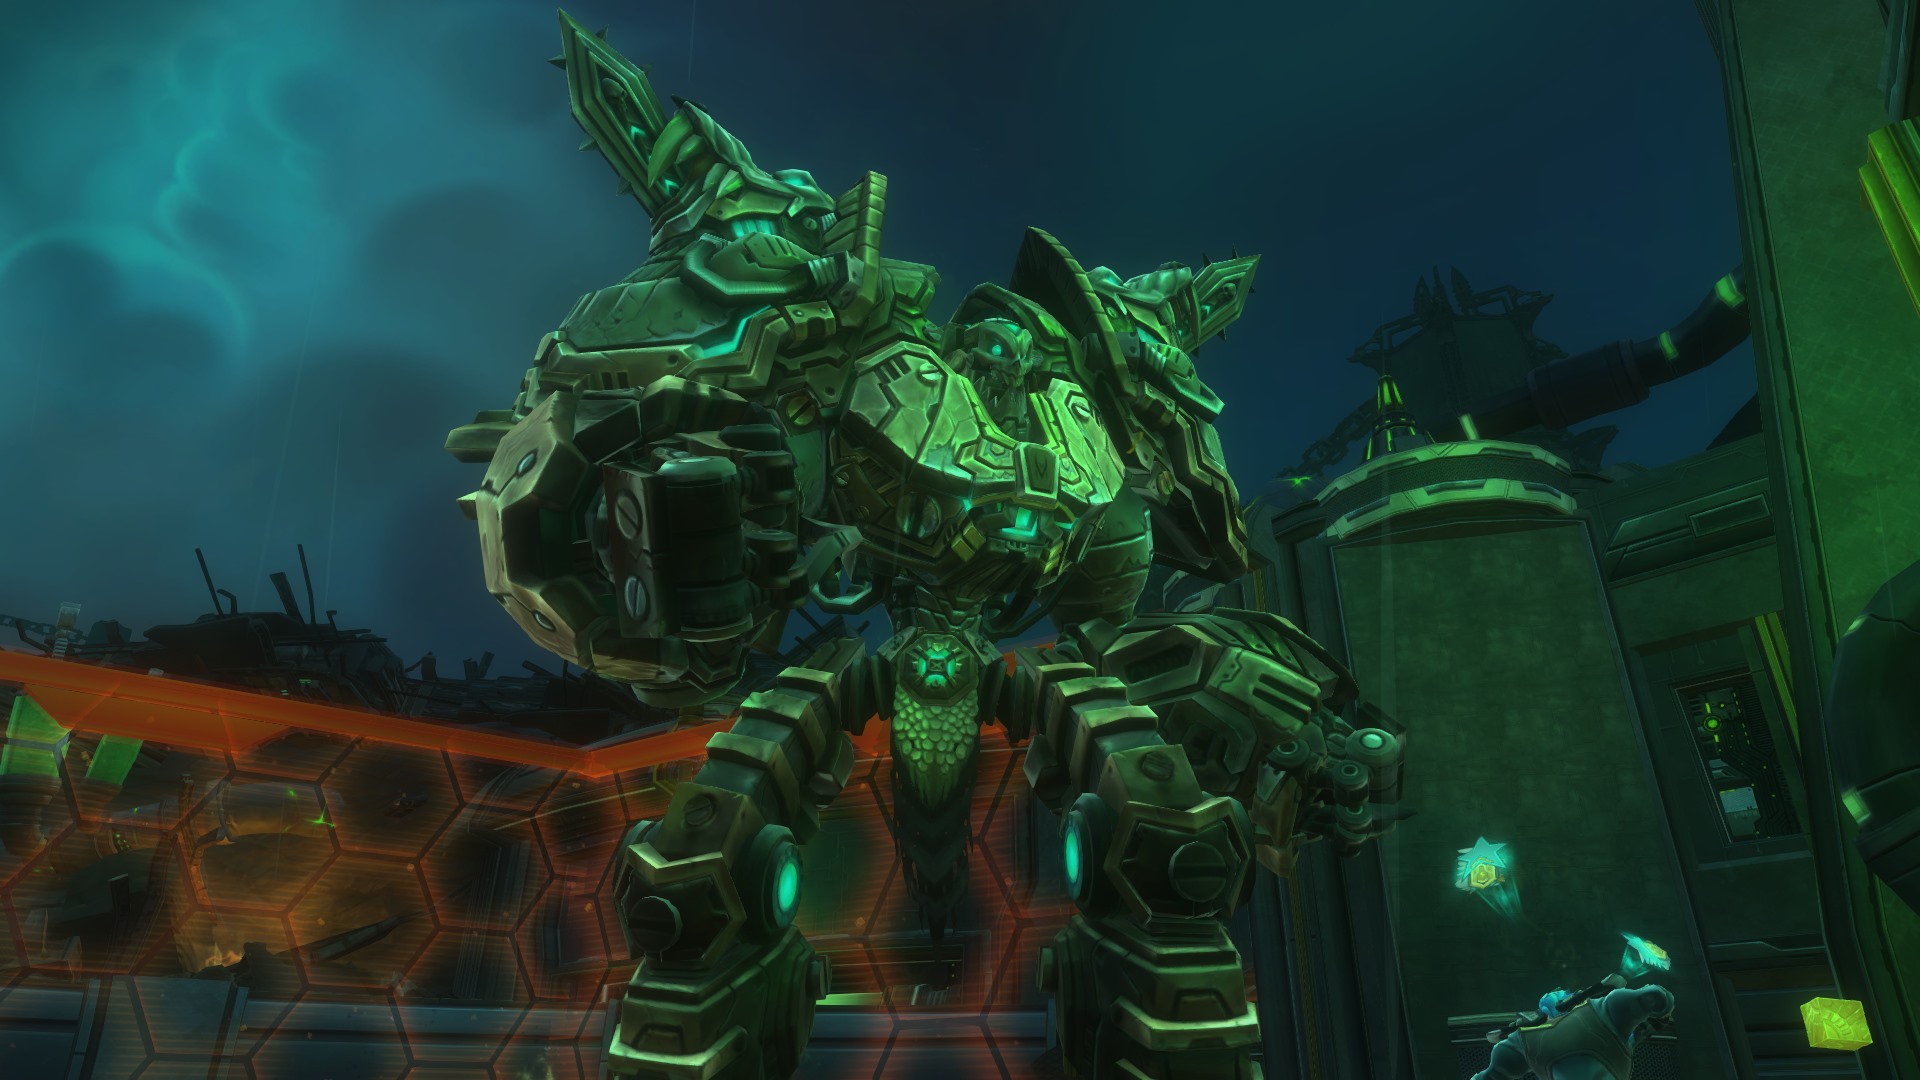
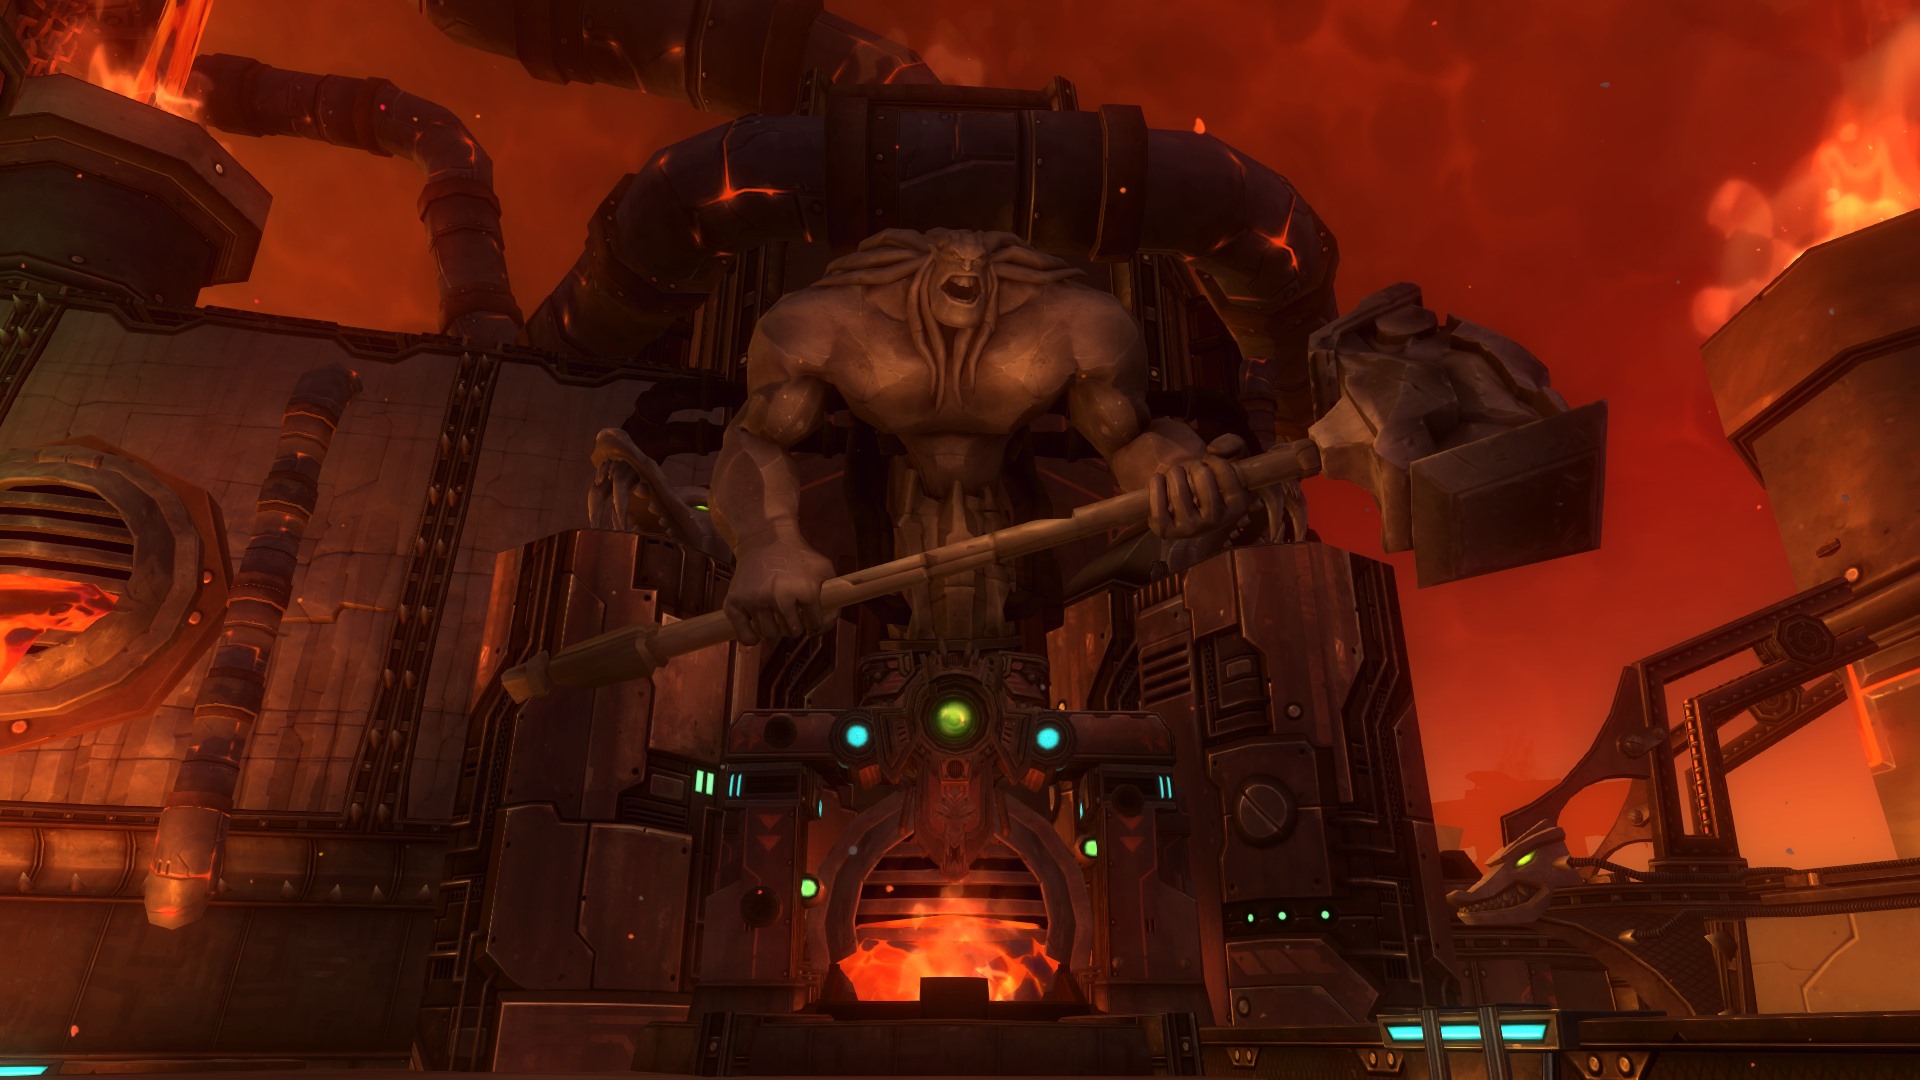
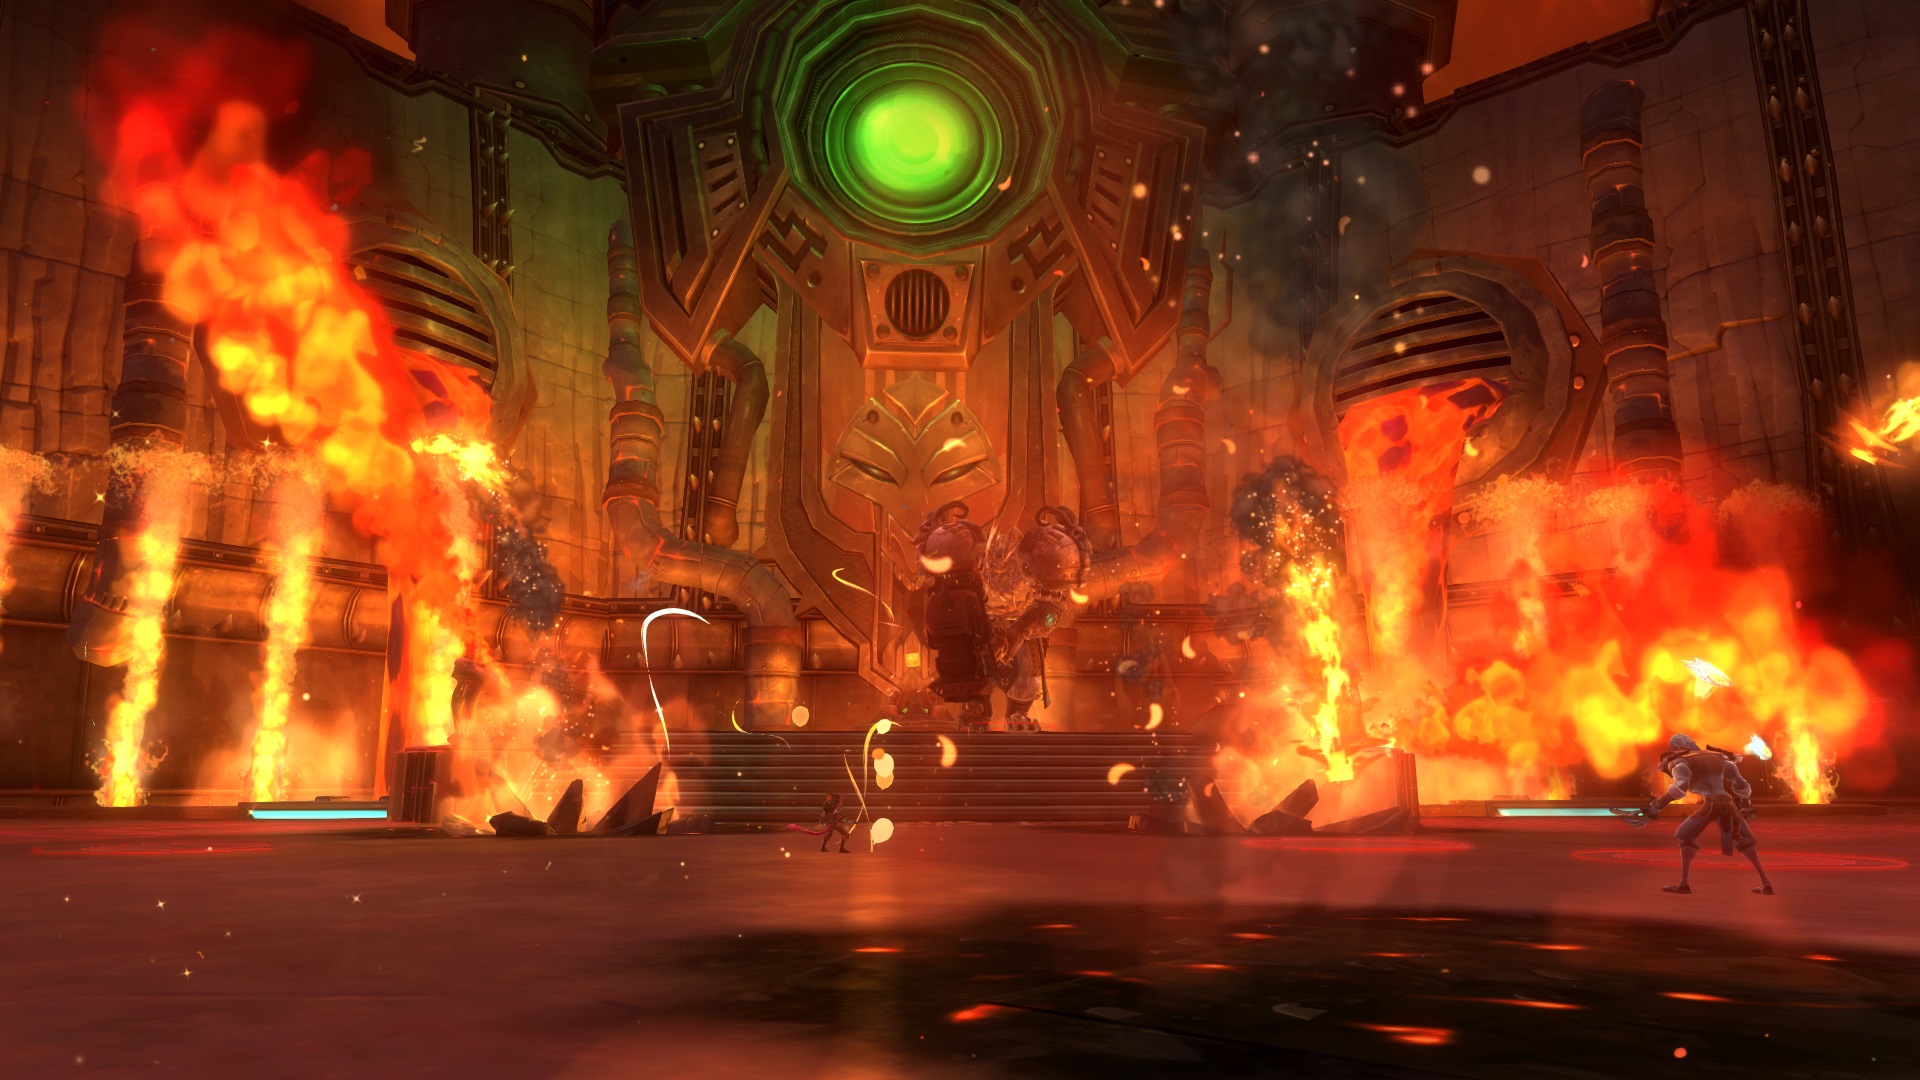
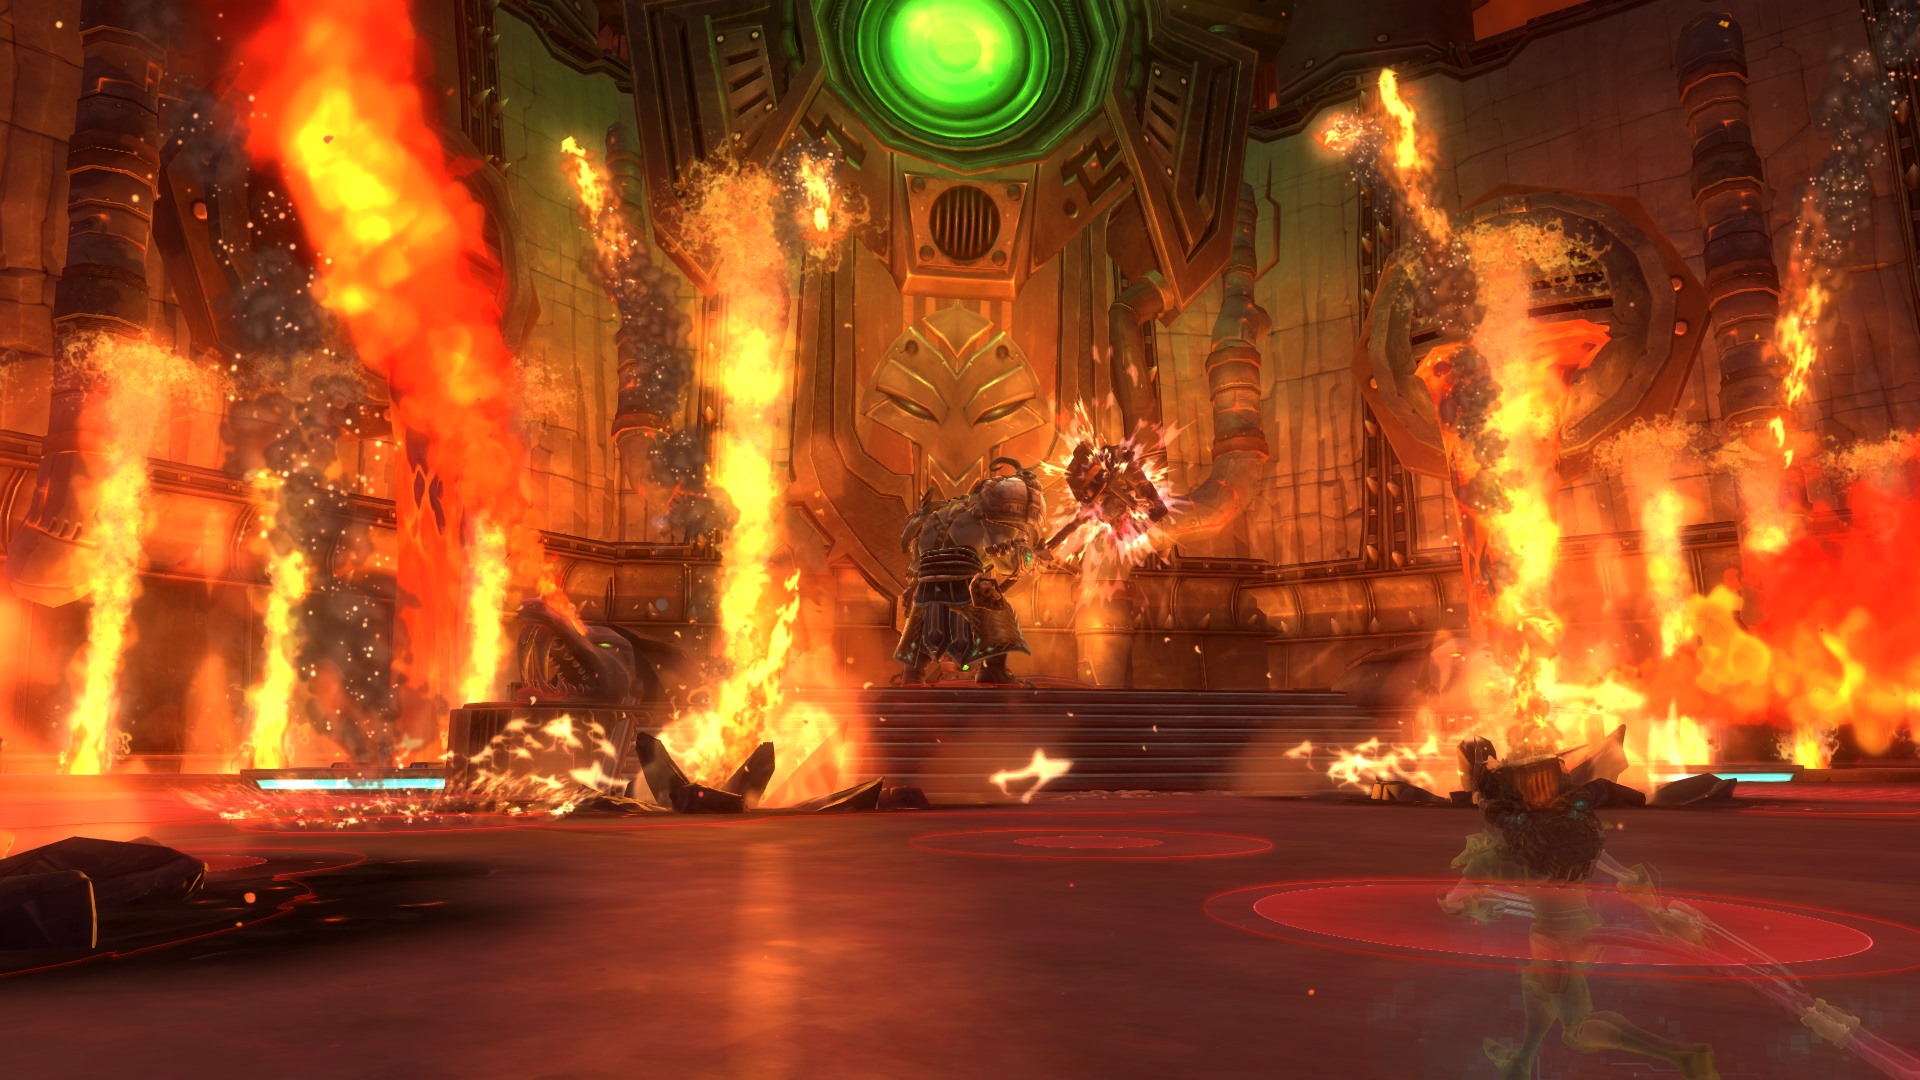
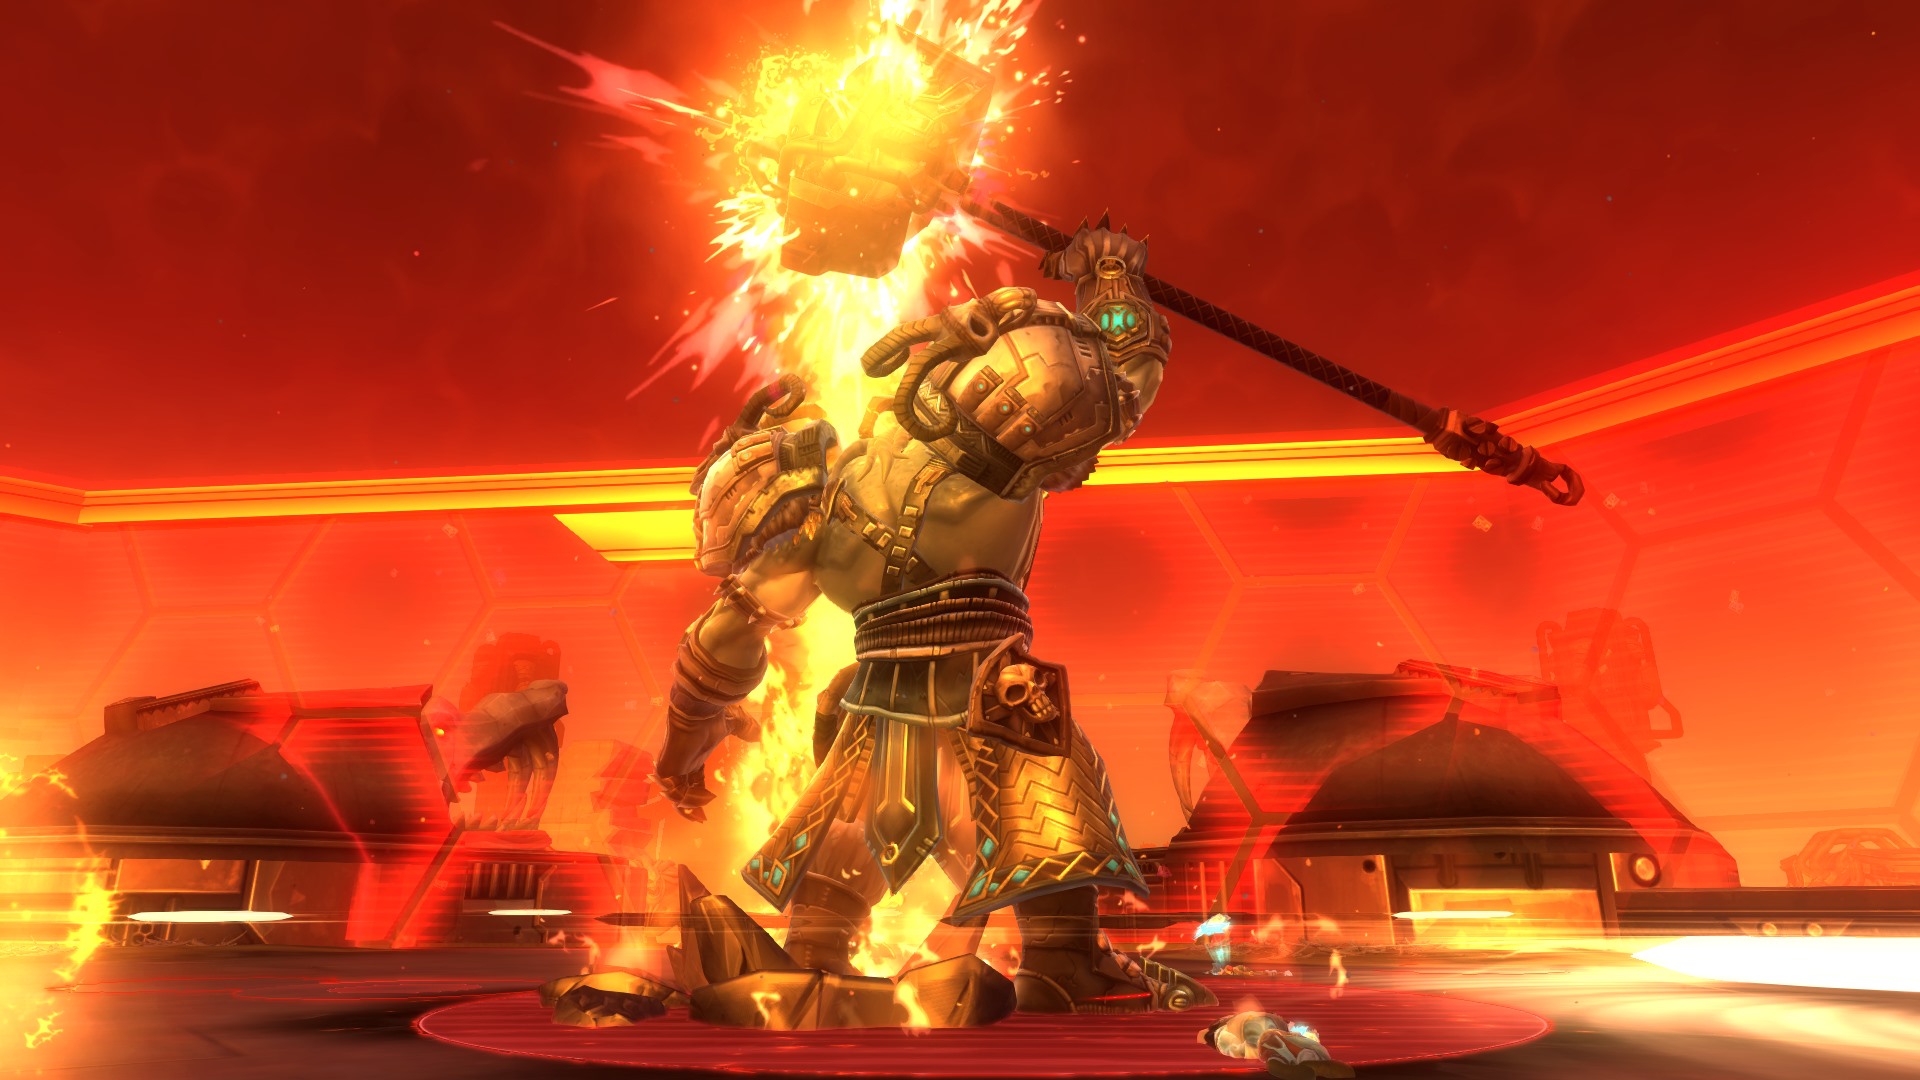
Ruins of Kel Voreth : Forgemaster Trogun
Forgemaster Trogun is the third and last boss of the Ruins of Kel Voreth.
Forgemaster Trogun
Ruins of Kel Voreth Gallery
-
- Grond the Corpsemaker
-
- Grond the Corpsemaker
-
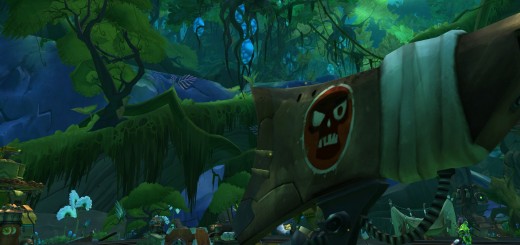
- Ruins of Kel Voreth
-
- Ruins of Kel Voreth

-
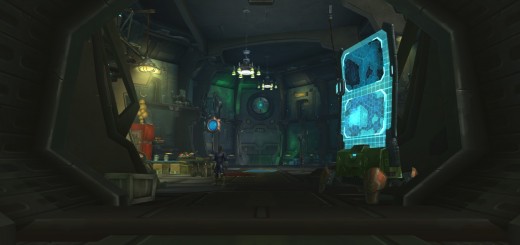
- Ruins of Kel Voreth
-
- Ruins of Kel Voreth

-
- Slavemaster Drokk
-
- Slavemaster Drokk
-
- Ruins of Kel Voreth
-
- Ruins of Kel Voreth

-
- Ruins of Kel Voreth

-
- Ruins of Kel Voreth
-
- Forgemaster Trogun
-
- Forgemaster Trogun

-
- Forgemaster Trogun
-
- Forgemaster Trogun
-
- Forgemaster Trogun
-
- Ruins of Kel Voreth Map